A Drupal 7 Image Gallery Tutorial
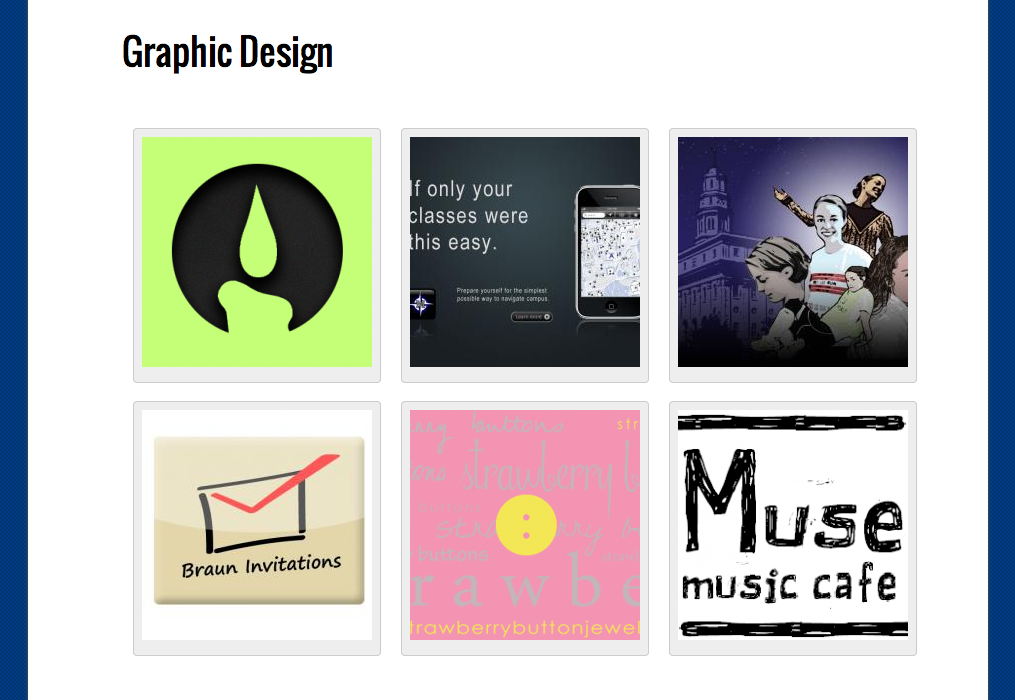
This tutorial describes step-by-step how to build a basic thumbnail based image gallery, based on Views. The result would look something like this:

The instruction is designed for Drupal site builders or admins with a basic understanding of Views and Fields. It assumes you are running Drupal 7.x and Views 3.x.
Step 1: Preparation
Modules
A views image gallery uses several modules. You can download and install all of these modules (and the modules they require) at /admin/modules/install.
Enable the following contributed modules…
- Views - all purpose “reports” generator for Drupal
- Chaos Tools - a tools library required by Views
…as well as these core modules:
- Field
- Image
- File
Step 2: Content Configuration
Step 2a: Create Content Types
We need to create a new content type for images we put in our gallery.
- Browse to
/admin/structure/typesand create a new content type called Gallery Image. - Add a field to the content type called My Gallery Image. This will allow you to upload an image when creating content.
- Optional: remove any unnecessary fields like the body field. This content type only needs to be able to upload an image.
Note: Feel free to use use whatever names you like for these fields and content types
Step 2b: Upload some photos as dummy content
- Browse to
/node/addand add content using the Gallery Image content type we just created - Use the “My Gallery Image” field to upload one of the photos that you want in your gallery.
- Set any other settings as necessary and save the content.
- Repeat the steps above until you have loaded up 3 - 5 photos for dummy content
Step 2c: Create an image style for your thumbnail
- Go to
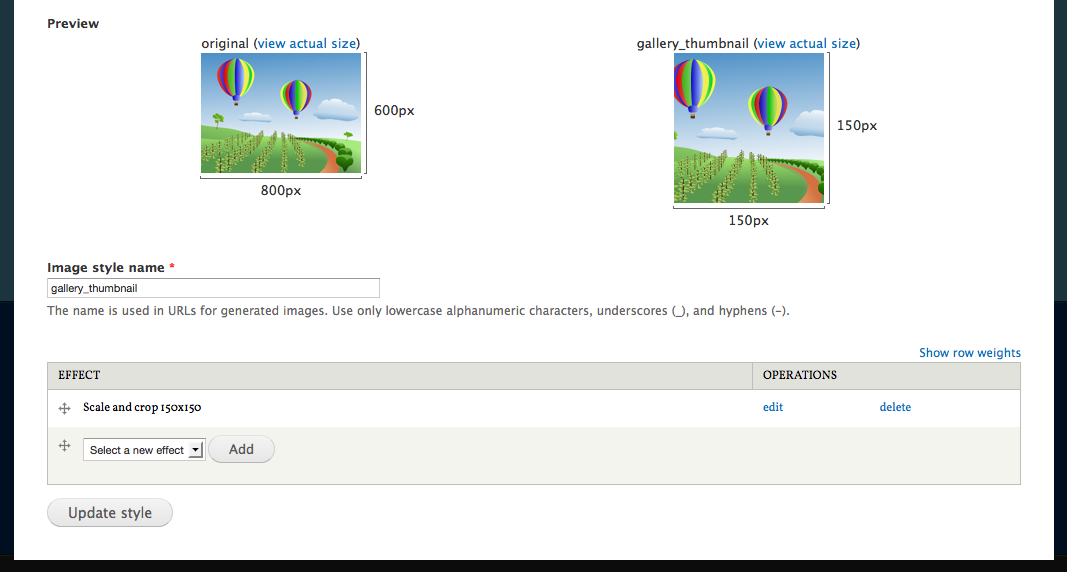
/admin/config/media/image-stylesand click Add Style to add a style named gallery_thumbnail. - Add an effect of “scale and crop” (several other effects may work for you, so feel free to play with these settings)
- Set the width and height to be 150 pixels
- Update the effect
It ought to look something like this:

Step 3: Build the View
Step 3a: Create a Gallery View
To display images in a Gallery we will create a view that displays every piece of content you have published under the Gallery Image content type.
- Go to
/admin/structure/viewsand click Add new view - For the view name, call it “Photo Gallery”
- Set the view to Show Content of type Gallery Image sorted by Unsorted</strong>
- Check the box to Create a block (and uncheck the Create a page box if necessary)
- Name the block title “Photo Gallery”
- Set the display format to Grid of fields
- Set to 10 Items per page, check to use a pager and click save and exit
Step 3b: Views Configuration
We’ll have created a view with a block display and now we need to ensure that all our settings are correct.
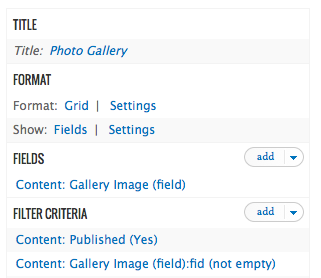
First, locate the view in your list of views and click the link to edit it. Make sure your settings match those listed below:
- Display name: 'Photo Gallery'
-
Title
- Title: 'Photo Gallery'
-
Format:
- Style: 'Grid'; Number of columns: '5'; Horizontal
- Show: 'Fields'
-
Fields
- Content: 'My Gallery Image'; Formatter: 'Image'; Image style: 'gallery_thumbnail'; Link image to: 'content'
-
Filter Criteria:
- Content: 'Published (Yes)'
- Content: 'Published or admin'
This criteria ensures that a photo won’t appear in the gallery unless the photo has been properly uploaded and publish as part of your Gallery Image content type. The resulting set up will look something like this (though yours ought to say “Content: My Gallery Image”).

Save the view.
Step 4: Test your setup
Now scroll to the bottom of your view configuration page and check the Auto preview checkbox. If your gallery is being properly displayed in the region below, then you did it! Just save the view and it will be created as a block (remember, that’s the option we chose in step 3a, #4). Now you just navigate to the blocks page (Admin Bar > Structure > Blocks) and drop the block into a region to see how the view looks on your site.
Step 5: What’s next?
You can do a lot to customize your gallery. Here are some options:
- Change the pager settings for your view (determines the default number of thumbnails in your gallery)
- Style the view output for your view using CSS (I recommend CSS Injector for beginners, since it’s not as difficult as full-on theming)
- Add a Page display to the view, so it exists on its own page (learn more about displays on drupal.org)
- Change Image styles to change thumbnail size or image scaling/cropping in the thumbnail
- Uploading more images
- Allow rating of images (using modules like Voting API, or Fivestar)
Other Resources
- Views Gallery module by KarenS – A Drupal 6 module that uses this methodology with hardcoded content types.
Note: I wrote this tutorial as part of a Drupalcon Denver documentation sprint and I originally saved it in the views issue queue (which I’m pretty certain was the wrong place to put it). Anyways, I’m reposting it here so I could clean it up, include images, add links, and make it more findable. I certainly could have used this when I was figuring this out. Cheers!